Creating a Smooth Auto-Loading Pagination Github API Demo: MVVM, DI, RxJava, and Paging in Android Kotlin
Introduction
Today, I will share how to connect to the Github API to implement a smooth auto-loading pagination example using the following architecture.
-
Using the MVVM architecture
-
RxJava for controlling network requests
-
Dependency injection
-
Using Paging to display RecyclerView pagination
-
Data connection to the Github API
curl \
  -H "Accept: application/vnd.github.v3+json" \
  https://api.github.com/search/users
Enter search text in the search field
Use the built data class to call the API and display the returned results according to the specified quantity
Preliminary Architecture Thoughts (TL;DR)
First, you need to plan the architecture
Here, we mainly use MVVM
You will have a rough diagram in mind
But you won't implement everything at once
You will build it layer by layer
Here is my simplified example:
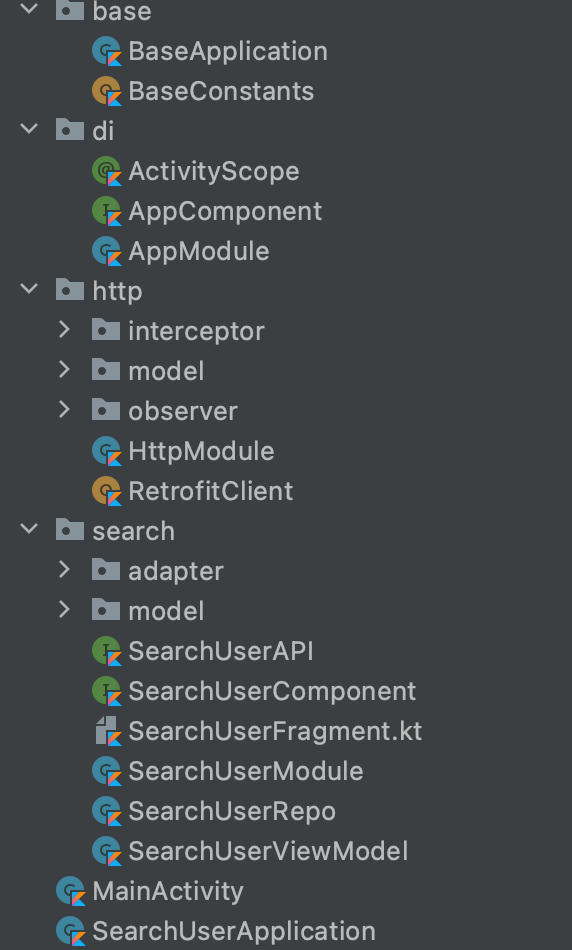
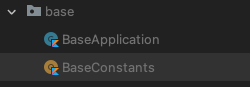
- First, we handle some basic common classes,
such as the base folder, Android Application, and basic XML configurations.
These classes might be used multiple times in subsequent development,
so we complete these foundational tasks first.
2-a. This time, we decided to use Jetpack ViewModel and Dagger2.
Develop the DI folder mainly for the Application component,
which contains some common methods that other modules can use,
such as providing Application/Context or new common methods.
2-b. Before starting to construct the HTTP module,
I had already decided which libraries to use,
including OkHttp, Retrofit, and RxJava.
Then I started constructing the HTTP module,
implementing the Retrofit client,
mainly to provide a Retrofit instance, like this:
Then put it into the HttpModule to be used by other modules in the future
- Start constructing the component and module for the page
After building the necessary basic classes
you can start creating new modules to implement the main functionality
Here, you can use the written HttpModule, only needing to write some APIs for external requests.
- Start constructing the viewmodel and repository related parts,
think about what data you will need and how to update the data to formulate your viewmodel,
then use the repository to execute the HTTP request.
After building the above functions,
go back to the module and add the classes that need to be provided for DI auto-injection.
- After completing the preparatory work, you can now start writing the UI.
Use Navigation Graph to configure Activity and Fragment,
and inject the previously created DI classes into the Activity or Fragment to be executed,
so that they can use the DI functions.
The above is the thought process for pre-planning the entire development flow.
At this point,
we can start talking about how to write the code!
The previous parts were just some of my experience sharing and suggestions,
now let's officially get into the main topic.
Implementation Begins
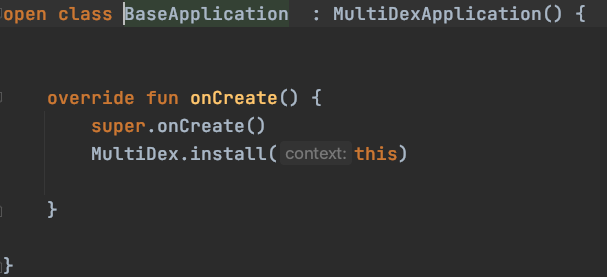
Such as BaseApplication, Constants, BaseActivity, etc.
The purpose is to design some common code
Some frequently used initialization stuff is written here
It also makes your main application/BaseActivity class look less cluttered and more readable, or reduces the amount of code you need to write later.
First, build the basic DI modules
Build the component:
b. Develop the module for HTTP requests
Then develop the HTTP connection module
Considering that the app might primarily use HTTP connections later on,
we first set up the HTTP module
The HTTP module looks like this:
RetrofitClient is a class I encapsulated myself,
it returns a Retrofit instance
Built through a builder and a custom OkHttp builder
to create this Retrofit instance
Since RxJava's Observable will be used later,
we add
RxJava2CallAdapterFactory
during the setup to make Retrofit support RxJava
.addCallAdapterFactory(RxJava2CallAdapterFactory.create())
c-1. Create the API interface for Retrofit
c-2. Create the Repository where the actual API calls will be made
c-3. Create ViewModel and anticipate the data to be observed
In this example
the following data needs to be observed
-
UI display status
-
List data to be displayed during paging
c-4. Create module
The @Provides | @Module | @Inject annotations are required for DI
So, depending on different situations or places, you need to add the relevant annotations
c-5. Add HTTP module
The previously written HTTP module comes in handy
Add the following code before the module you want to call
@Module(includes = [HttpModule::class])
c-6. Create the fragment for displaying the screen
Start creating the fragment and inject the ViewModel
c-7. Create the module to be used
This is a step to create a Dagger Component
-
Write a component
-
If you need to use context, you can import the previously created app component
-
Add the module you want to use
c-8. Develop the app's view
The remaining task is to start developing the app's view and paging functionality
Here, I use the official Android paging library for pagination
Using RecyclerView in conjunction with the paging library
First, write a class PagedListAdapter
Then create getItemViewType, onBindViewHolder, onCreateViewHolder:
Create DiffUtil.ItemCallback to determine the differences between new and old data
If different, it will update
Next, create the DataSource.Factory used for paging
This section is about the use of PageKeyedDataSource,
which has three override methods,
including loadInitial, loadAfter, loadBefore
representing initialization, before loading data, and after loading data respectively
By adding custom data into the pagelist,
you can implement your business logic in these methods,
such as executing an HTTP request during initialization.
For example, create an onResult callback interface
and call this method when encountering loadAfter
to pass the data back to the calling point
callback.onResult(listSearchUser, initPage, nextKey)
Of course, how to write this method
can be adjusted according to individual situations
and the results may vary
Here is my example: