Mastering Android Persistent Storage: Kotlin and Room Database Practical Tutorial
Introduction
-
Import the required Room library according to your needs
-
The main components of Room are as follows: Entity, DAO, Database
-
To prevent UI blocking, Room does not allow database access on the main thread
Implementation
Using Room's @Entity annotation helps you create a table in the database
@PrimaryKey helps you create a unique primary key for each data entry
You can name table columns directly using variables, such as: id
You can also use @ColumnInfo(name = "name") to specify column names
Using Room's @Dao annotation helps you create methods to operate on the database
For example, @Insert: allows you to insert into the table
@Query: allows you to define custom SQL queries
Some commonly used SQL can be referenced from the official documentation
@Delete: deletes data
@Insert(onConflict = OnConflictStrategy.REPLACE): when there is a conflict with the primary key, it will replace instead of ignoring or doing nothing
@Update: updates data
Use @Database to create a RoomDatabase
entities are the tables you want to create
version is used for version updates
Use the code below to get an instance of RoomDatabase
Directly operate through the DAO written earlier
Other Usages
- Room 2.2 supports Flow
- Others also support RxJava, LiveData, Guava, etc. For more information, see: Official Documentation
After completing the above operations, you can use coroutines, flow, and LiveData as usual.
Or if you want to create it using a File, change it to .createFromFile(File("mypath"))
you can use @TypeConverters
to convert variable types and make them usable in Room.
For example, if you need to save a Date in the Room database, and Room doesn't know how to save Date objects, you can use:
In some cases, you may want to retrieve corresponding data from both tables for use
Add corresponding parent and child entities, in this example, UserEntity and HistoryEntity.
Then add @Relation, where you need to input the corresponding unique key values, such as primaryKey.
In this example, parentColumn corresponds to the primaryKey of UserEntity
entityColumn corresponds to the primaryKey of HistoryEntity
Finally, add the operation method in the DAO:
Add @Transaction to ensure data consistency,
because sometimes when the database performs multiple operations,
such as operating on Table A and then on Table B,
if Table A is successfully retrieved but Table B fails,
the returned result might be incorrect.
So using @Transaction ensures that either all data is successfully retrieved or none at all,
preventing partial operations that result in inconsistent data.
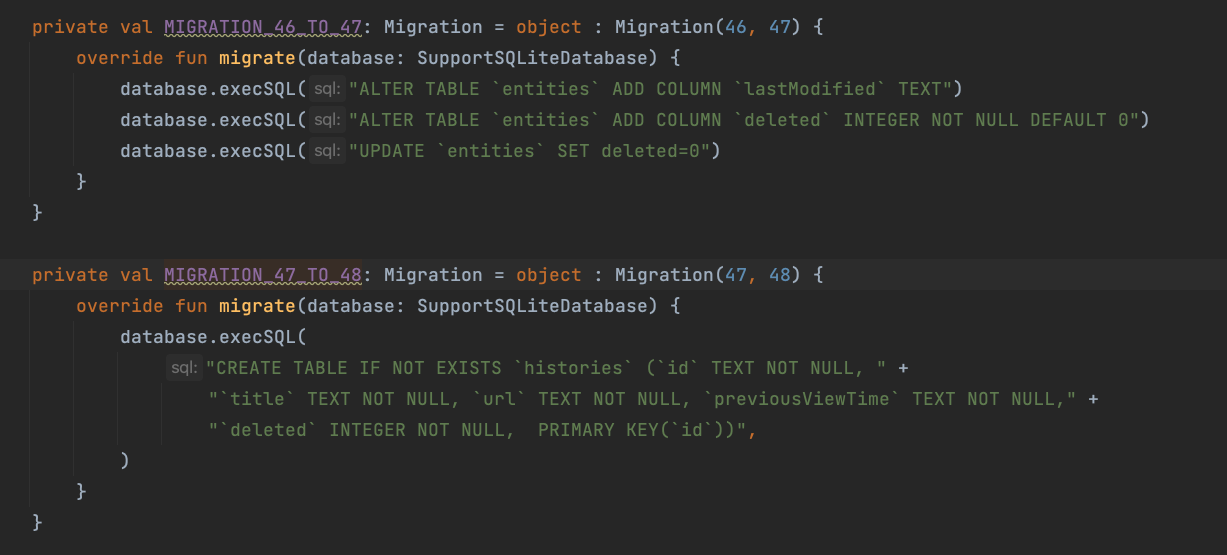 Add Migration when building the Room db, for example: