Cursor (vscode) build flutter
2025, Mar 14
Introduction
- In the Flutter article, we set up the environment. At that time, we were
manually executing commands to build - This time, we’ll try building using
Cursor (vscode)
🛠 Setting up the flutter run environment in IDE
Getting Started
- Install the environment required for flutter. However, since this was already explained in the previous article, we’ll skip it here.
-
Download the flutter plugin from
MARKPLACE / EXTENSION

-
After installation,
restart the IDEand presswin/command + shift + pto display the built-in command tool At the same time, enterflutter doctorand click run
The check will start (
mainly checking if the flutter environment is ready for use in the IDE)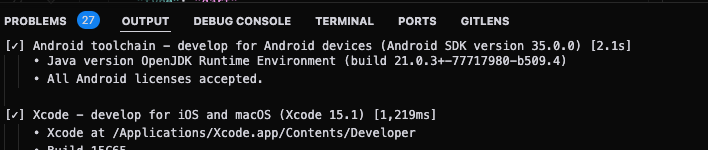
- Next, create
../.vscode/launch.jsonin your project
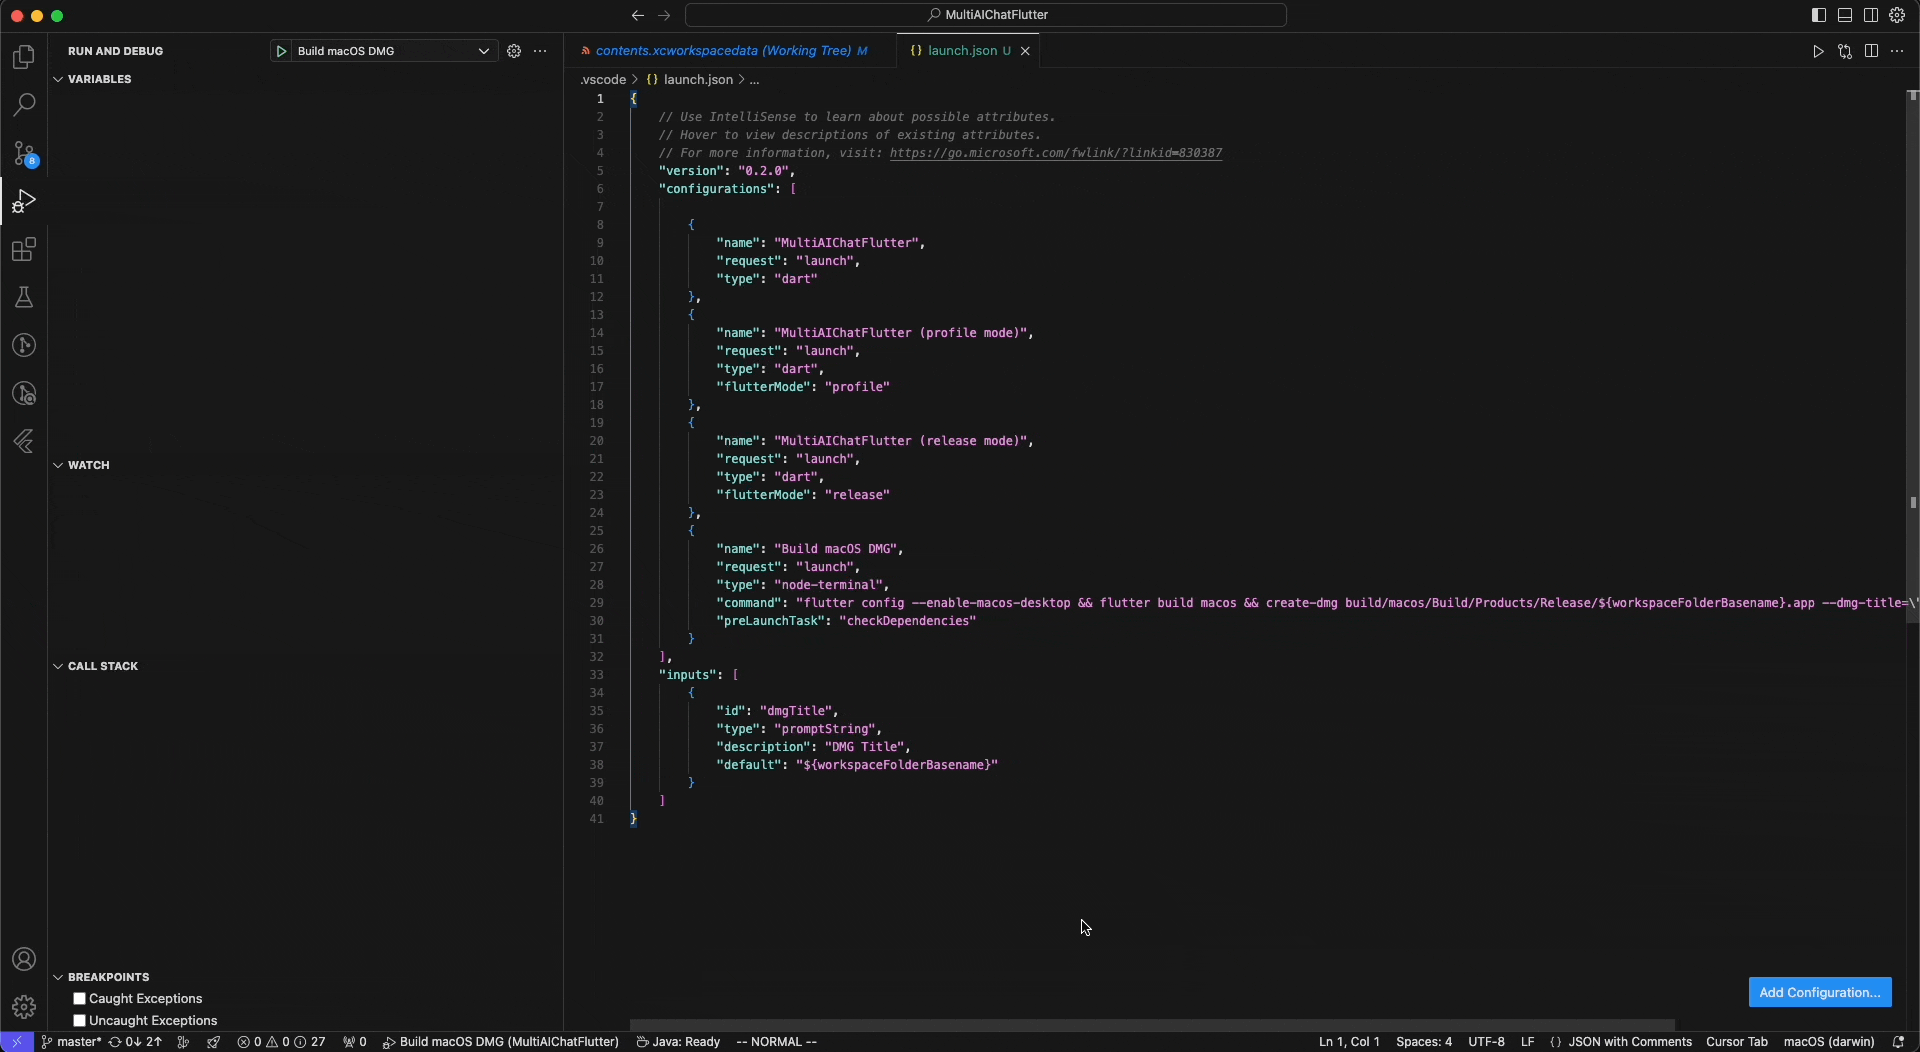
- Use the following json format to create flutter build settings
 {
 // Use IntelliSense to learn about possible attributes.
 // Hover to view descriptions of existing attributes.
 // For more information, visit: https://go.microsoft.com/fwlink/?linkid=830387
 "version": "0.2.0",
 "configurations": [

     {
         "name": "MultiAIChatFlutter",
         "request": "launch",
         "type": "dart"
     },
     {
         "name": "MultiAIChatFlutter (profile mode)",
         "request": "launch",
         "type": "dart",
         "flutterMode": "profile"
     },
     {
         "name": "MultiAIChatFlutter (release mode)",
         "request": "launch",
         "type": "dart",
         "flutterMode": "release"
     }
 ]
 }
- Use the following json format to create flutter build settings
- You can also generate it through the IDE. New IDEs have features to
generate launch.json settings with one clickFind Build & Debug and clickcreate a launch.json file
The IDE will ask you which project to configure. For flutter, chooseDart & Flutter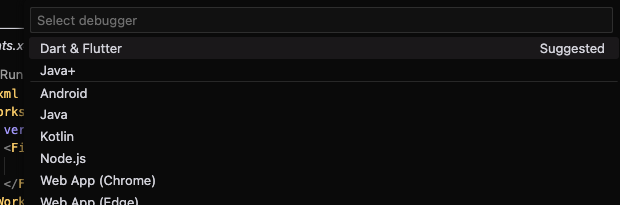
- Afterwards, click the play button in the upper left or press the
F5key in the IDE to start building flutter through the IDE
Setting up one-click macOS .dmg build in the IDE
-
We’ve already created
../.vscode/launch.jsonin the previous step Now we’ll set up acommandto build macOS .dmg, and at the same time createinputsto dynamically input the dmg title{ "version": "0.2.0", "configurations": [ //omitted... , { "name": "Build macOS DMG", "request": "launch", "type": "node-terminal", "command": "flutter config --enable-macos-desktop && flutter build macos && create-dmg build/macos/Build/Products/Release/${workspaceFolderBasename}.app --dmg-title=\"${input:dmgTitle}\" --overwrite", "preLaunchTask": "checkDependencies" } ], "inputs": [ { "id": "dmgTitle", "type": "promptString", "description": "DMG Title", "default": "${workspaceFolderBasename}" } ] }
Brief explanation: We’ve set up a build task calledBuild macOS DMGinconfigurations. This task performs actions such asenabling macOS build settings,running flutter build macos,running create-dmg, etc. In this, the value of--dmg-titleis obtained from thedmgTitlemember of inputs
-
Select the
Build macOS DMGscript in the IDE
-
Since we’ve set up
dmgTitle, the IDE will display an input field where you can enter any name you like
-
After that, the terminal will automatically open and the build will begin