ChatGPT Tutorial - Integrating Line Bot with Open AI ChatGPT
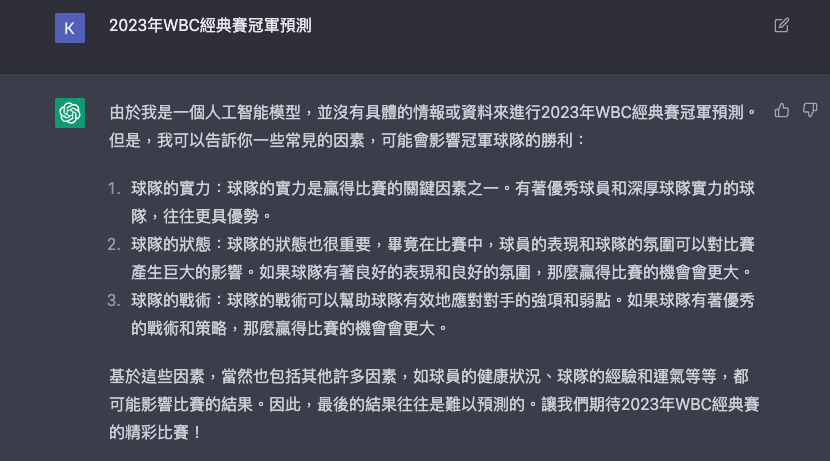
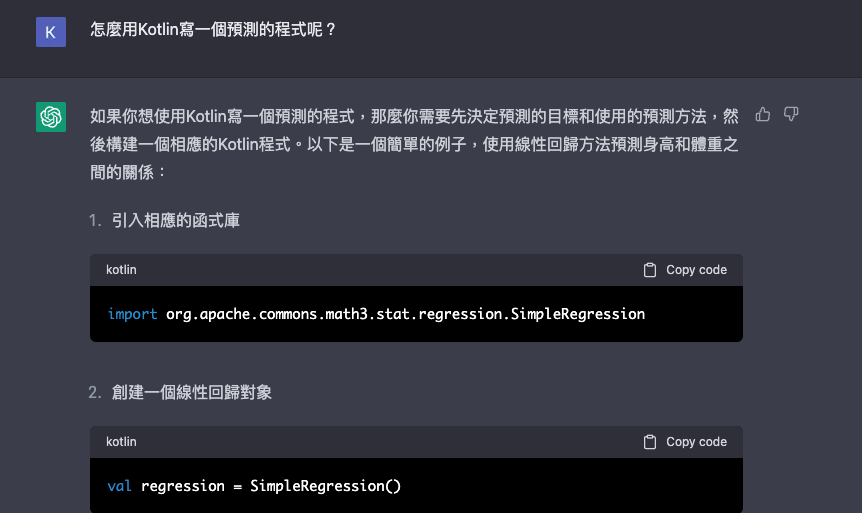
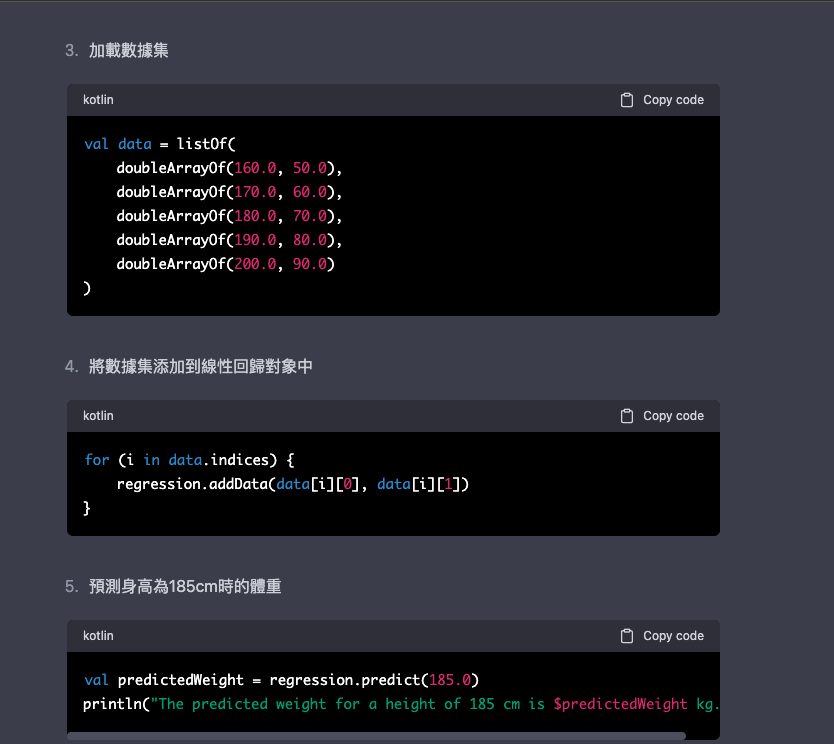

⬆ It looks like ChatGPT provided an example for predicting weight based on height, which seems quite decent
This powerful AI can answer all sorts of questions, but how can you make it work for you? Let's continue...
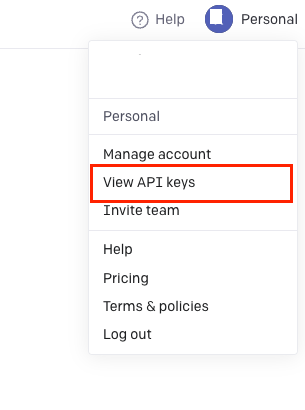
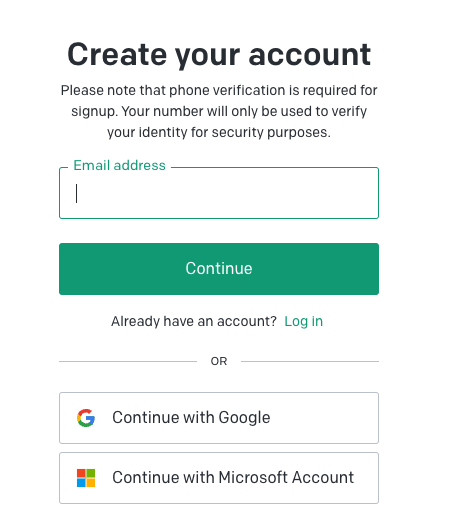
⬆ After clicking, you will see the above interface by clicking on the avatar in the top right corner. Click View API keys
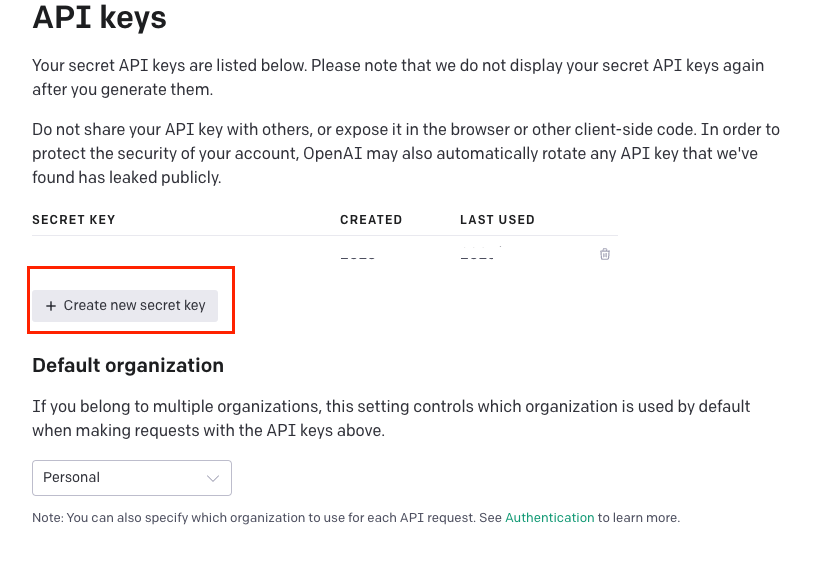
⬆ Click Create new Security key, this key will be used to verify your identity when calling the API
Refer to the documentation to see how to integrate, and follow the instructions provided in the documentation.

However, if you have some experience with curl or API requests, you can directly find the curl examples provided by the official documentation and convert them into the language you are familiar with.
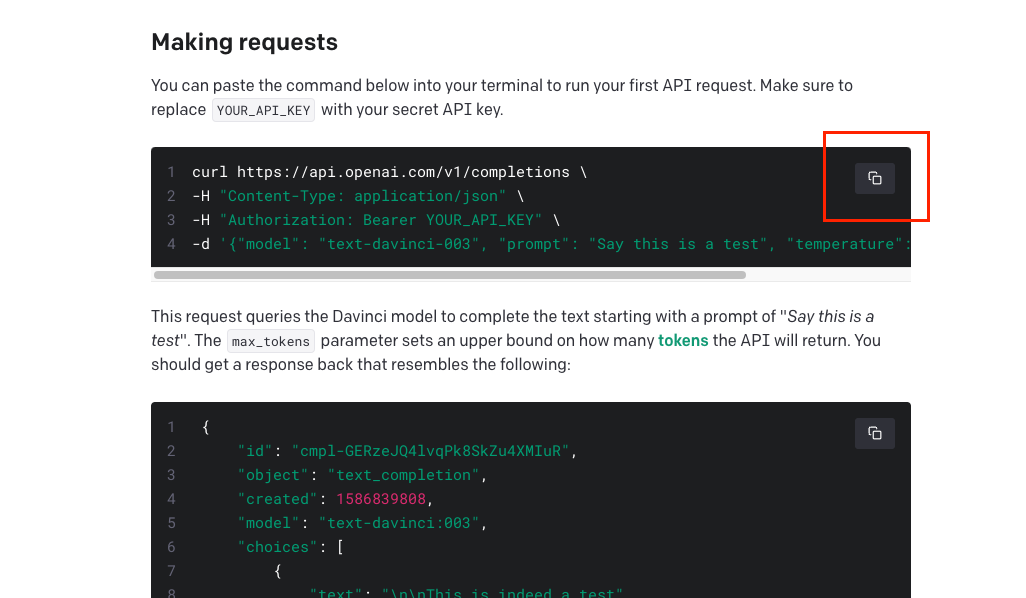
curl https://api.openai.com/v1/completions \
-H "Content-Type: application/json" \
-H "Authorization: Bearer $YOUR_API_KEY" \
-d '{"model": "text-davinci-003", "prompt": "Say this is a test", "temperature": 0, "max_tokens": 7}'
⬆ A quick introduction to the meaning of the above curl command:
1. The URL we need to send the request to is https://api.openai.com/v1/completions
2. If you want to break it down further, you can see it as the domain name https://api.openai.com/ and the API endpoint v1/completions
3. The part in the middle with -H is the Header
Content-Type: application/json indicates that the format of our request body should be JSON
Authorization: Bearer $YOUR_API_KEY is the API key you need to use to authenticate with the OpenAI API
This is the key we generated earlier
4. -d '{....}' The -d at the end is the JSON format to be sent to the endpoint, and the content inside the {} is the JSON data to be sent
5. Simple JSON key explanation:
model: This is the model of ChatGPT. The official documentation provides different models for integration,
each with its own maximum tokens, pricing, and reliability. You can test them according to the documentation:
GPT-3 model documentation
prompt: This is the question you want to ask, similar to what you would input directly into the ChatGPT web chat,
but now you are sending the request programmatically
max_tokens: This is the maximum number of tokens you want to limit for this request,
as the official pricing is likely based on the number of tokens,
so you can use max_tokens to control the usage,
which might be useful for those who plan to use the API long-term to manage their usage.
(Note: The tokens here are used by the official documentation to calculate usage and billing, and are not the same as the tokens commonly used for authentication.)
You can start developing the API using the language you are familiar with.
Kotlin program for integrating with the OpenAI API
⬆ Here, I prefer to extract reusable code into separate files, such as ChatGptAPI.kt, ChatGptCompletionRequest.kt, ChatGptCompletionResult.kt, etc.
Since this is not a large project, I didn't bother writing thread operations myself.
I used the simplest built-in Callback of Retrofit,
which already handles the switching between UI Thread and sub Thread.
⬆ This mainly uses Retrofit to separate the integration endpoints.
⬆ This is where you create an HTTP connection class
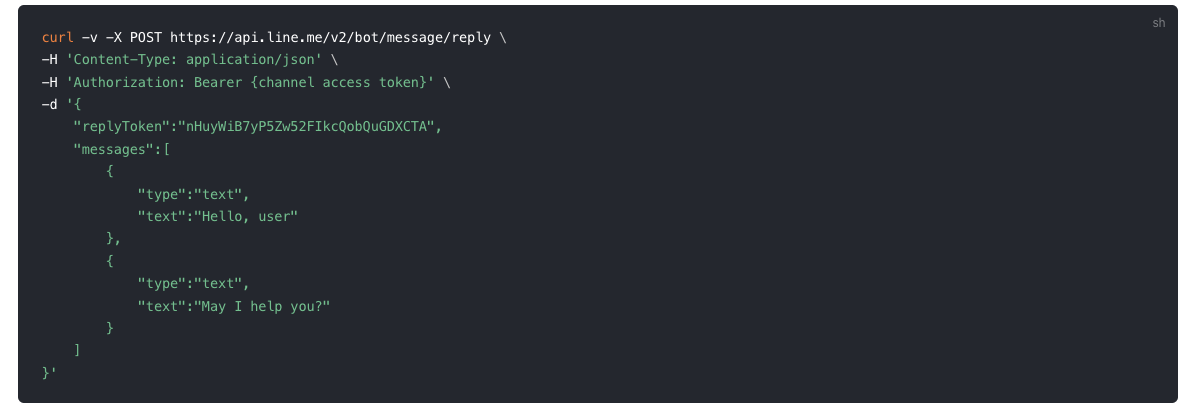
Now you just need to call the LineBot chatroom API at the place where you successfully called the ChatGpt API
to send the returned message to the actual Line chatroom you are using.
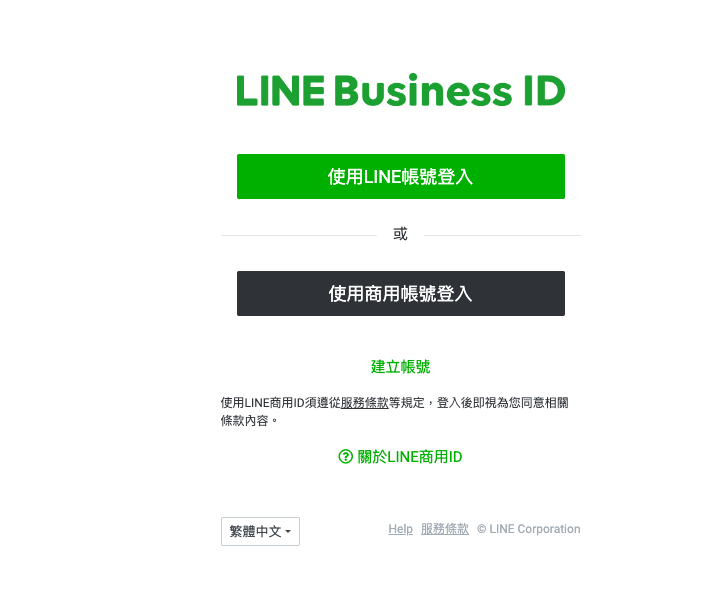
Click this link to apply or log in directly with your Line account: Line Business ID
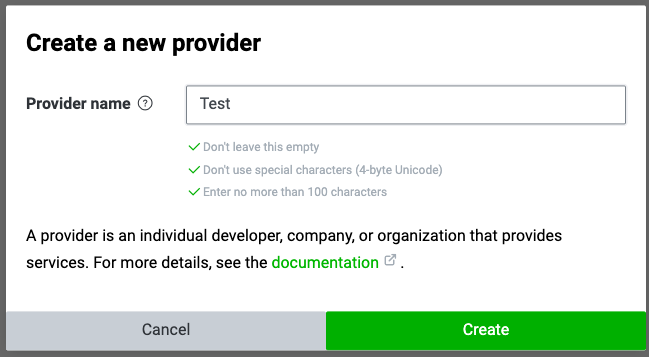
After registration, enter this screen and click Create to create a new chatroom:

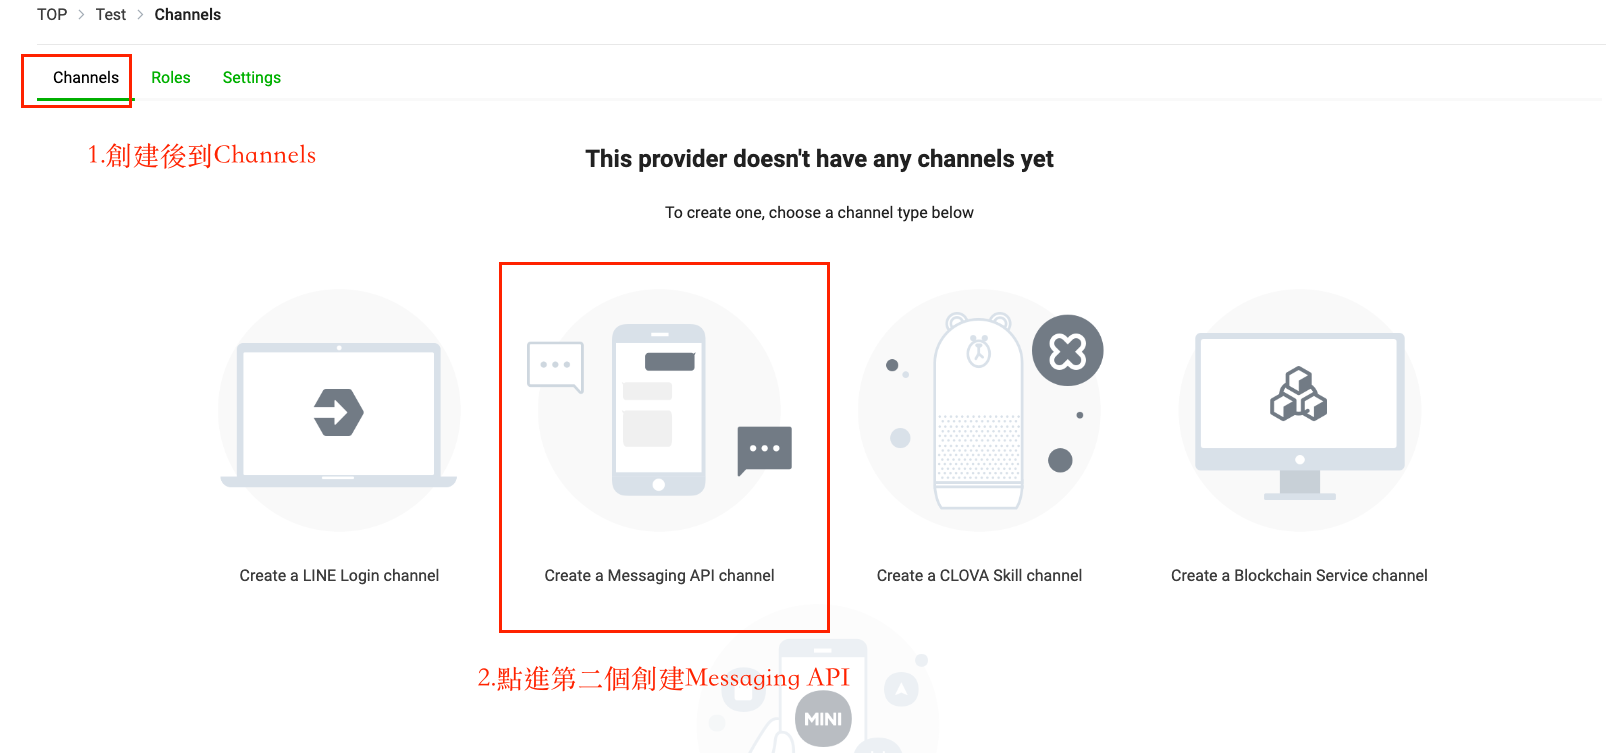
After creation, go to this page and click Create a Messaging API Channel to enable the messaging API for the Line bot:
Enter the information as shown in the picture below
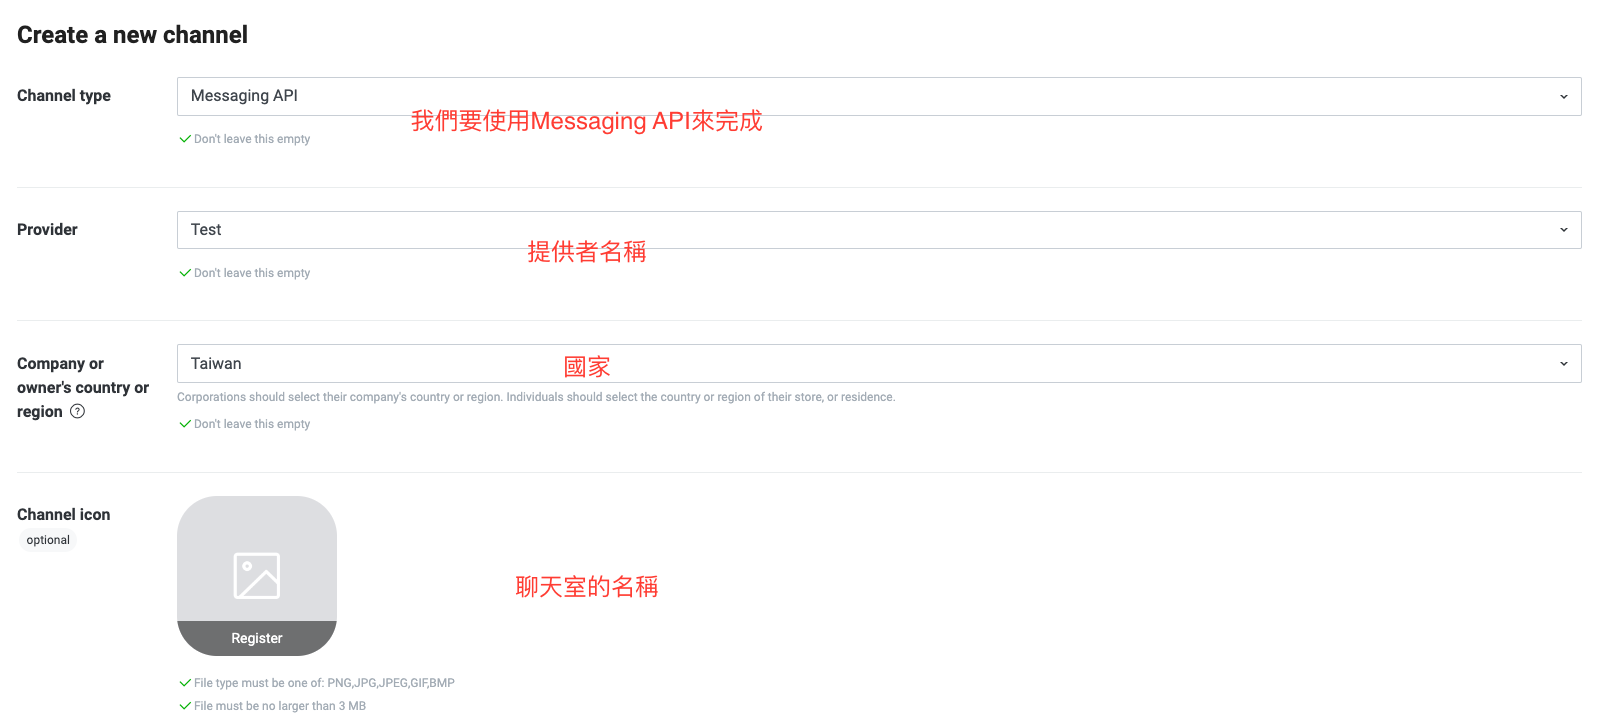
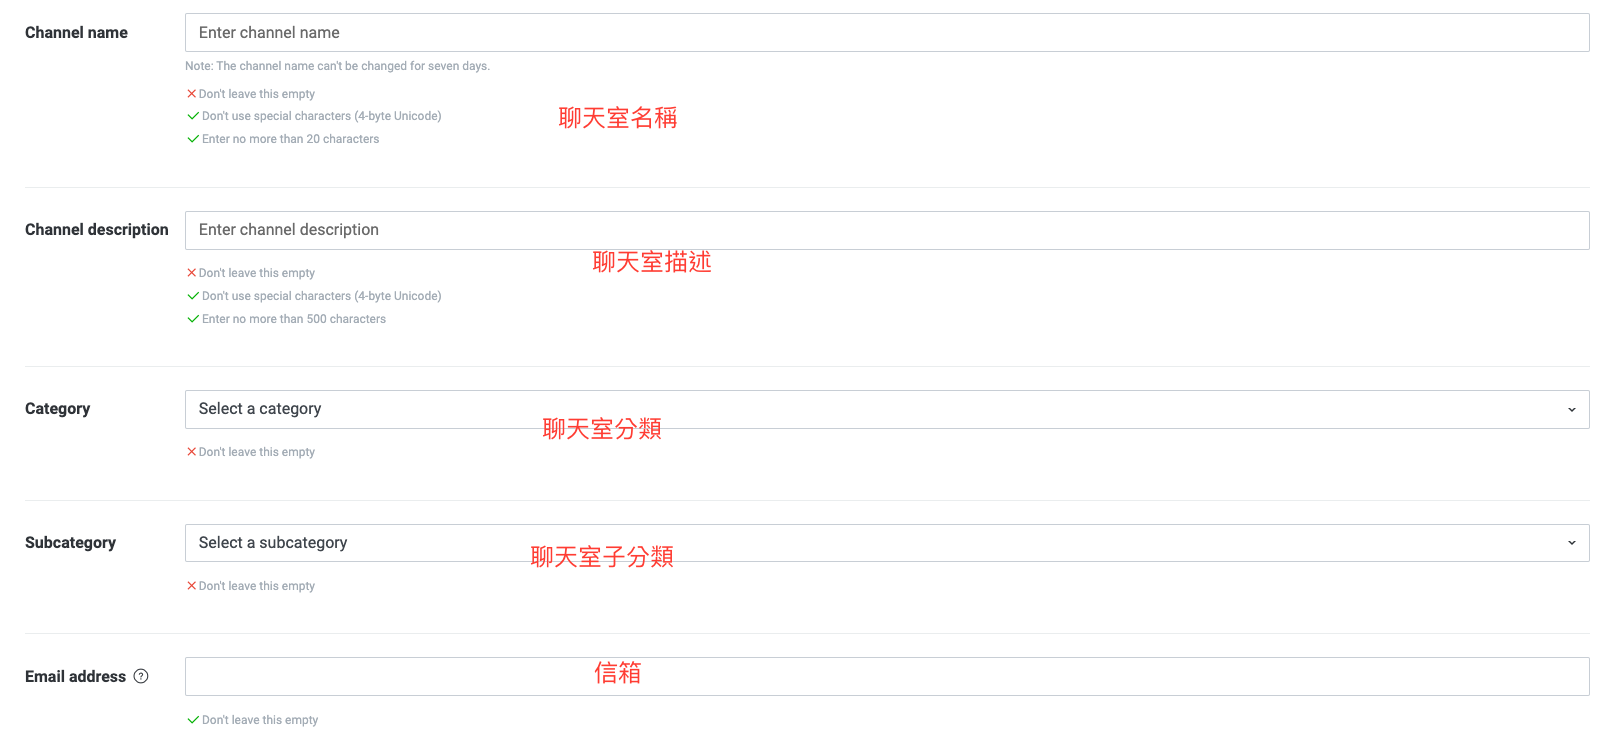
After entering the information
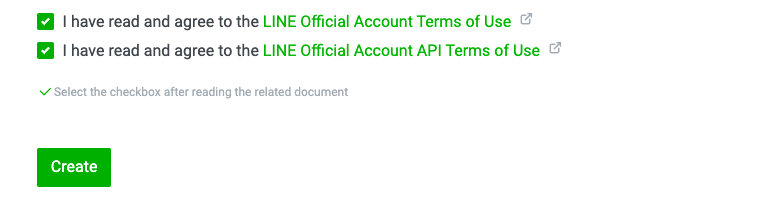
Remember to check the agreement and create
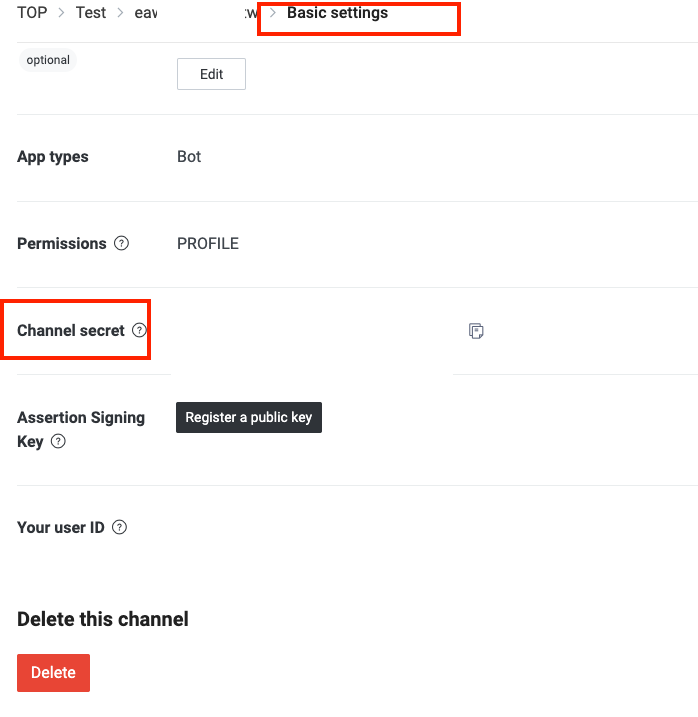
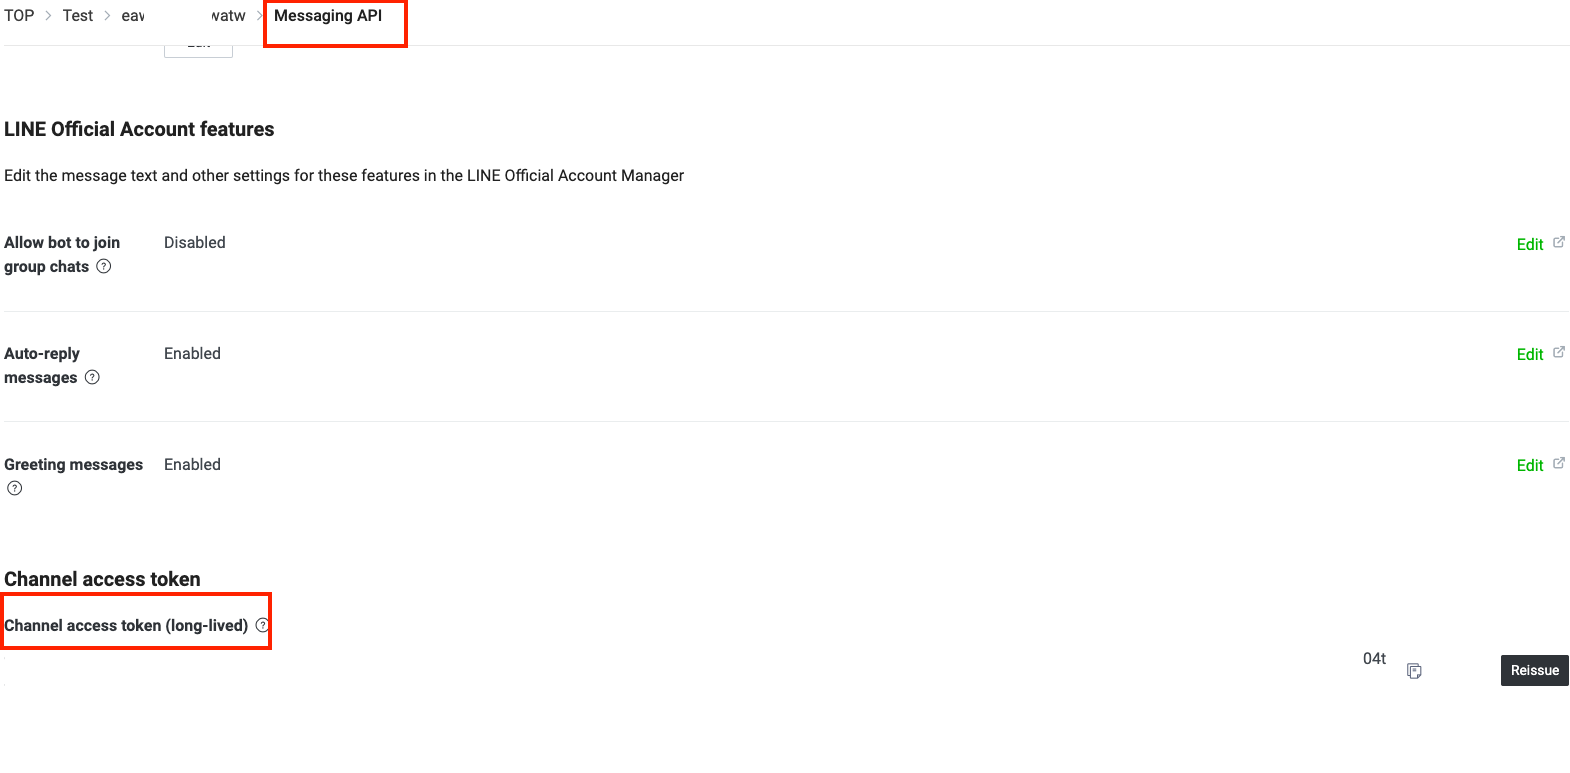
These two keys are needed to call the LineBot related interfaces
You can start developing the API using the language you are familiar with
Connecting to the LineBot API with Kotlin
⬆ This is similar to the process of connecting to ChatGPT earlier, also using Retrofit
⬆ Extracted Line Messaging interface
You can use some cloud servers or set up a server on your local IP to upload the written code
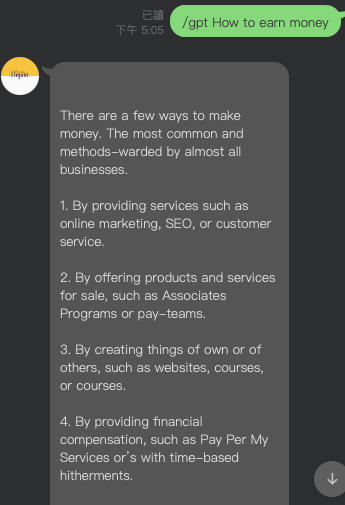
You can start your LineBot connection to the ChatGPT service
After that, repeatedly test your online features for bugs and perform subsequent maintenance
The rest is up to you to explore, give it a try!
Final Result
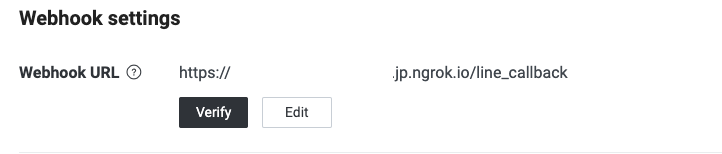
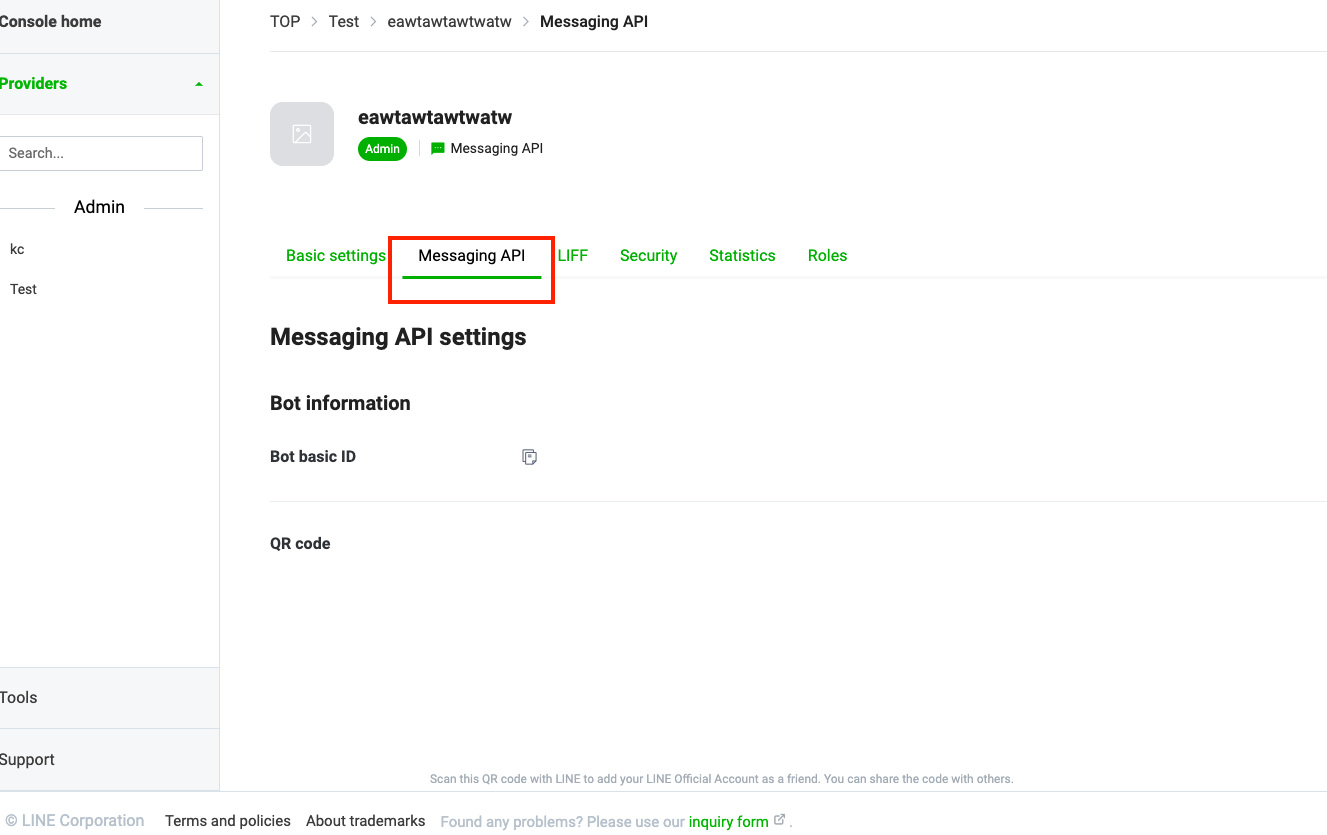
Here, go back to the Line Developer page
Enter the Messaging API page
Input your open interface
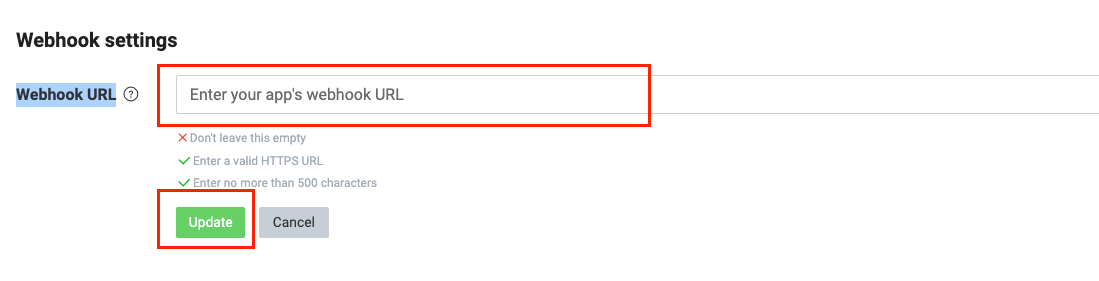
⬆ Update your URL to the Line backend

⬆ After inputting, you can check if your server is connected
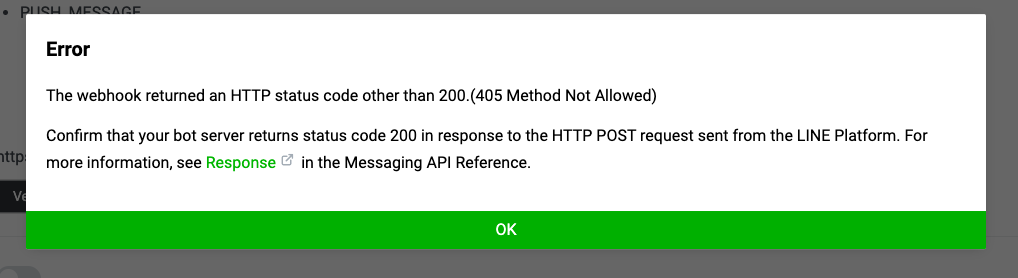
⬆ The result after clicking Verify, if there is an error, it will feedback an error code
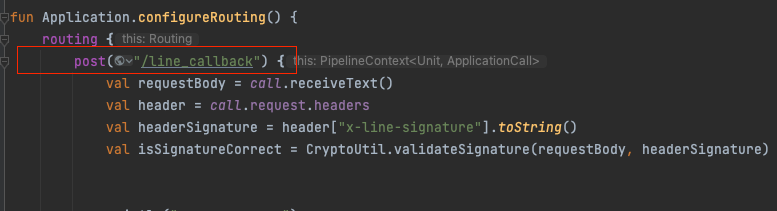
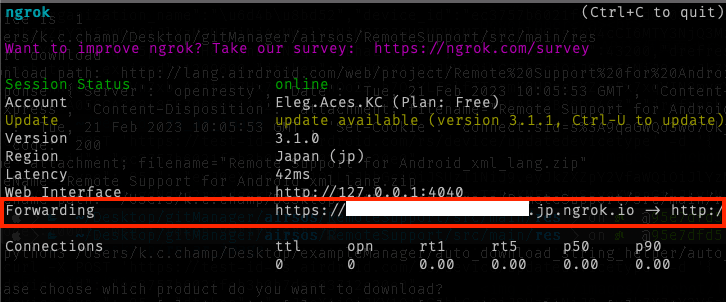
⬆ Open a /line_callback interface
Because this has a low entry threshold, it is very suitable for beginners.
Just follow the official website documentation.
It almost painlessly helps you convert a local port into an external URL.
Quite convenient.
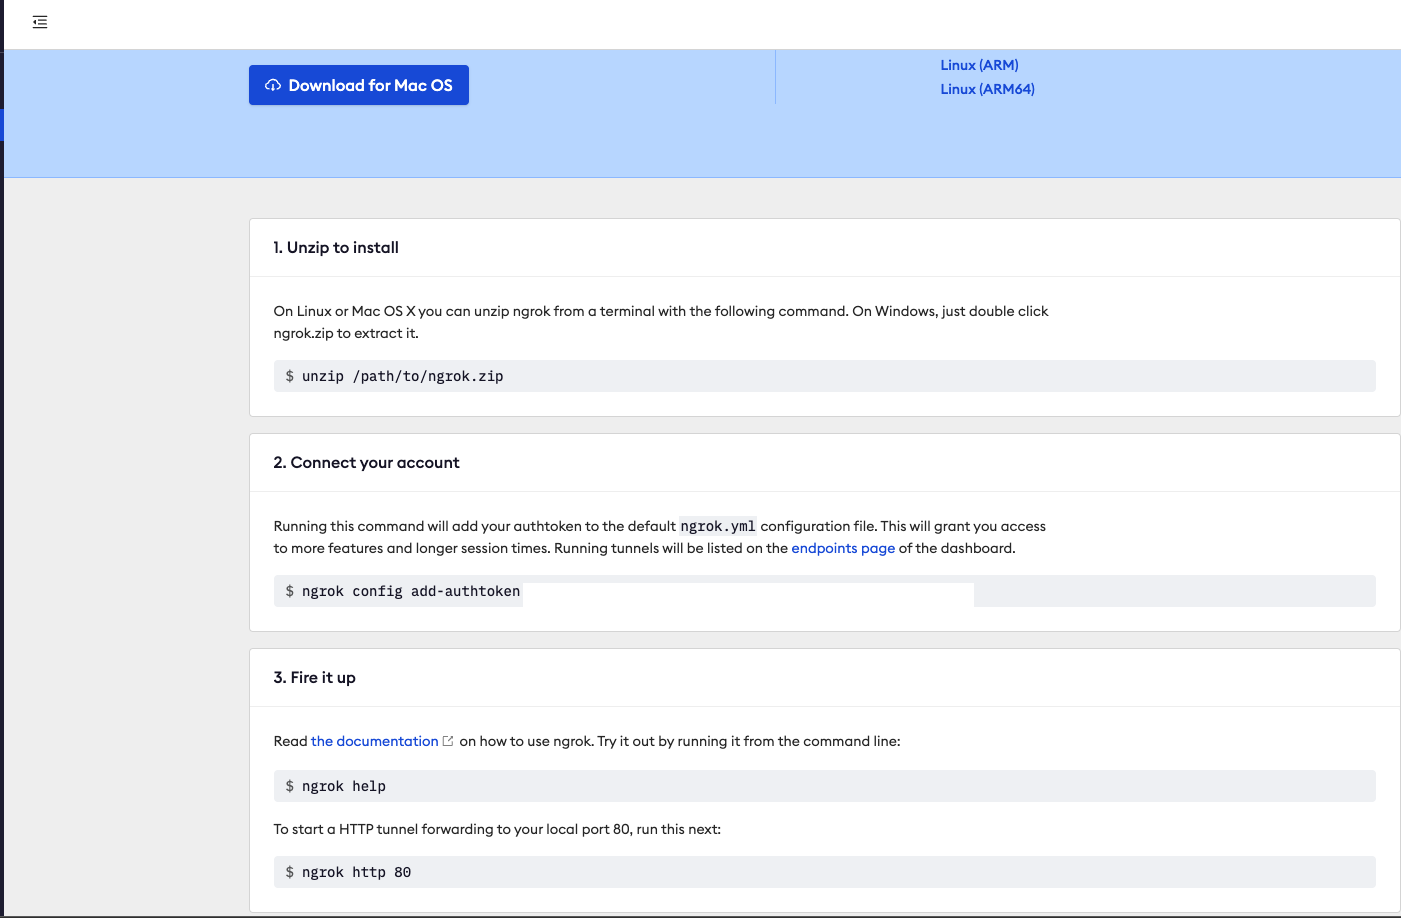
⬆ After logging in, you will see the ngrok dashboard. At this point, just follow the steps above.
1. Download the zip and install it.
2. Copy and enter the command above in the command line (Linux/mac) / DOS (Windows).
3. Finally, select a port to convert to an external port.